Hi all,
first of all please sorry for my english :)
Yesterday I realized that the MIC input knob doesn't work with the values under the "off" selection (beetween +20 and +50).
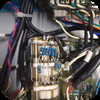
After unmounted it I've seen that a cable is desoldered but I've got no idea to where he was soldered...
Any tips?? possibly with a photo since I don't have great electronics skills :D
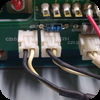
I took a picture of the "free" cable and another to where the other side of the cable is connected\plugged.
Thank you very much :D
Comments
As Paul said, it's almost…
As Paul said, it's almost impossible to trace this accurately from a couple of photos.
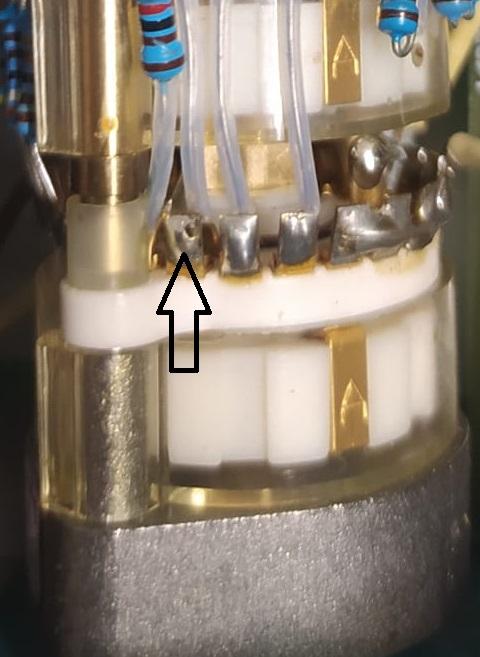
That said, I notice that the joint on the leftmost solder tag on the first wafer of the mic/line gain selector switch is looking as though it has had a wire pulled out of it. It's worth checking to see whether the loose end of the wire you found could have come from there. From your photo, however, it looks unlikely that there is enough slack in the cable to reach the switch.

thank you guys, I'll take a…
thank you guys, I'll take a look as soon as I get home :)
I was hoping to solve it easily since it is not an issue that requires a lot of manual skill..
but I understand that it is difficult to identify the point from which it came off without putting your hands in it and taking measurements.
I want to avoid sending it to technical assistance and stay without it for weeks.
Maybe I should look for someone who has the same model and has the patience to open it to play at "find the differences" :D
..and to think that I always wanted to study electronics: D
thanks again guys :D have a nice day
The thing I suppose is to…
The thing I suppose is to first determine what purpose the cable has? What does it come from, so once you know that, you can think about where in the flow, it would need to go - then see what happens? Realistically, it has to be within the arc the cable can reach, and be neat, as the other wiring is. This might help narrow the search down?
You say that your second…
You say that your second photograph shows the "other side" of the floating wire, but which of the cream-coloured wires in the photo is it? The left and centre plugs have a cream signal wire and a black ground, and the right plug has two cream wires. The loose cable in the first photo may be screened where it has the darker jacket, but it's too blurred to be certain.
Speaking as a professional electronics engineer, I'm very unimpressed by the wiring and construction standards on display in this piece of equipment as shown in your two photographs. Rupert would be mortified.
If I had one guess, I'd…
If I had one guess, I'd suspect the #3 tab on that board at the top. The wire is hanging down from that and looks like it's just about that length, and it looks like something WAS soldered there, but nothing is now?
BUT, don't take my guess as a surefire thing! I can only see what I can see, and that's what I see!
Good luck!
Kapt.Krunch
Hi guys, thanks everyone for…
Hi guys,
thanks everyone for the help :) I really appreciated.
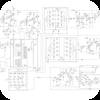
I contacted the official support who sent me a wiring diagram...the hard part for me now is figuring it out :D
ps: to answer Boswell, the plug is the one in the middle (CZ11 , the one under the blue resistor).
Here is the wiring diagram..I hope it can helps..
have a nice day :)
Ale
The schematic you posted is…
The schematic you posted is for a different version of the product. It's possible that the schematic is for the production version, and the model you have is a pre-production unit (or something similar). If so, it might account for the sub-standard quality of build in the unit you have.
In your original pair of photos, does the other end of the unsoldered cable shown in the first photo go to the CZ11 plug on the front panel board?
To help you find your way around a little, the components BR14 - BR19 on the schematic are the group of six resistors soldered between the second and third wafers of the gain switch (K5), as seen R to L in your photo. The switch wafers are labelled A,B,C from the front.
The range of gains that you say does not work are the ones where the signal passes through the first stage of the pre-amp (IQ1 - IQ3). The input to this stage is taken from wafer A pins 16-22, and the output from the stage connects to wafer B pins 20-22. Your photo of the switch does not show these. It's likely that your unsoldered cable should go to one of these two points
If you follow the group of six resistors round to the right as you look from the front, there are three further resistors hanging off wafer B in the direction towards the front and returning to the same wafer. Check the far end connection of the furthermost resistor (out of shot in your photo). You should see this resistor connected to three switch contacts that are joined together Crucially, there should also be a cable soldered to the join of the three contacts. If there is not, check whether your unsoldered cable end could have reached that point, and also whether the soldering on the switch looks as though it once had a cable connected. Take another photo and report back.


Perhaps if we had the unit…
Perhaps if we had the unit and could trace the wiring it's possible, but from the photo's I don't think so remotely, because we have no idea. You need a person who can look at it physically? Sorry.